
How To Integration with Amazon RDS and WordPress _
Step 1: CREATE RDS DB
I have created a EC2 server with WordPress installation on it. It is quite easy to set up the default instance but this instance isn’t very durable and scalable. To improve this we are going to use a database that is installed on a separate machine. That way the current EC2 server becomes a stateless application server and ready to be installed on multiple servers in different Availability Zones. To setup a database in the cloud Amazon offers the service RDS. But before we create this database first then make a WordPress server. SO be Ready to Do things done –
First we sign in AWS account and then –
Go To AMAZON RDS
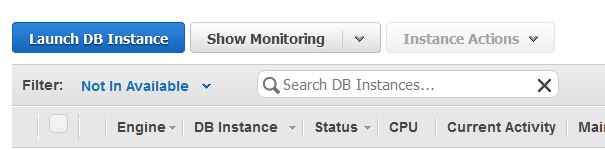
1 – Click on Instances then click on Launch DB Instance TAB :
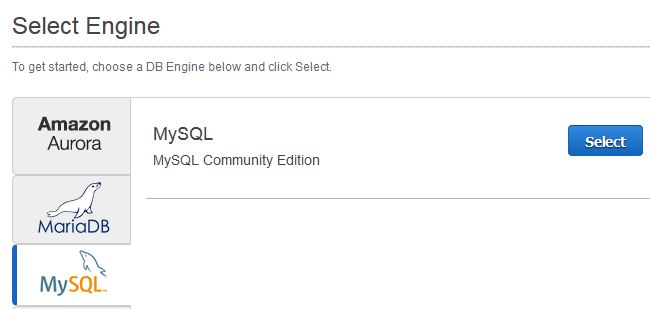
2 – Select MySql Tab :
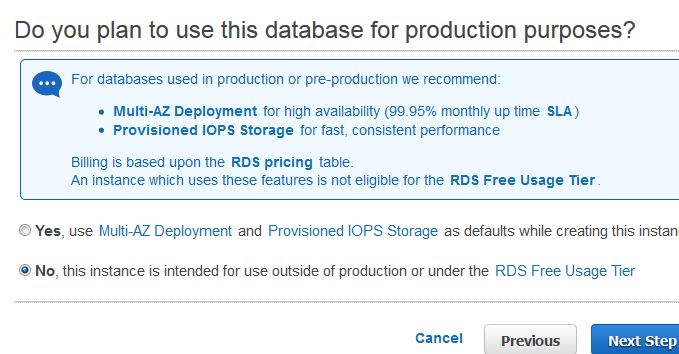
3 – Select [No] for without Multi-Az and Click Next : “for more info click on” – https://aws.amazon.com/rds/details/multi-az/
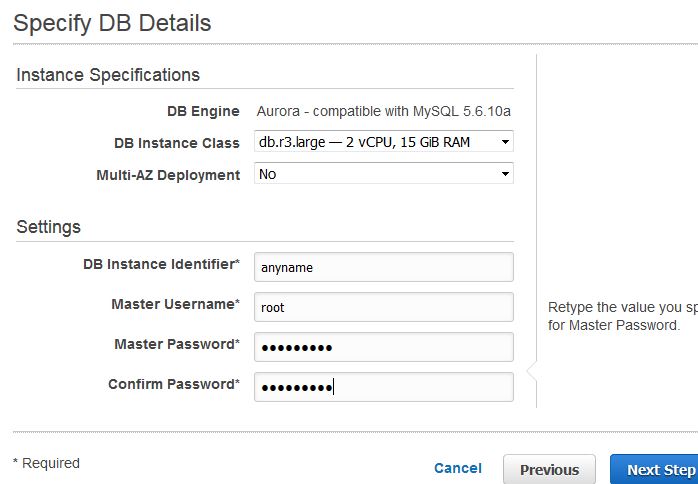
4 – Specify DB Details – Here You can change DB Version, Storage Type , Storage Size , DB Instance Class – Micro or etc., Mult-AZ option</
Fill all the details in Form :
DB Identifier – AWS ( Any Name )
Master UserName – Root
Master Password – ********
Confirm Password – ********
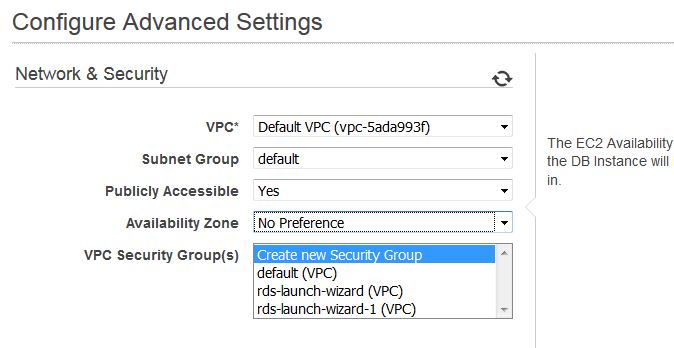
5 – Configure Advance DB Settings ( Network and Security ) :
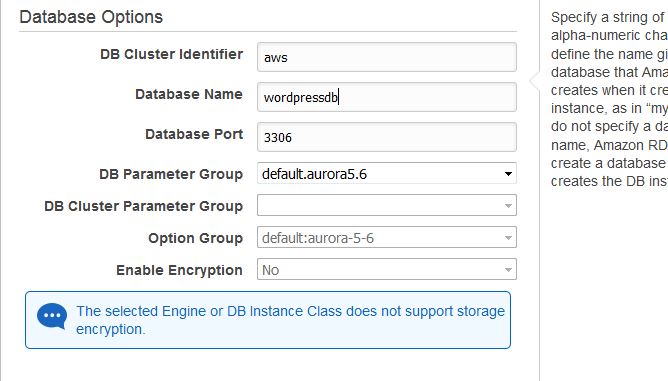
6 – Configure Advance DB Settings ( Database Options ):
7 – Configure Advance DB Settings ( Backup Options ):
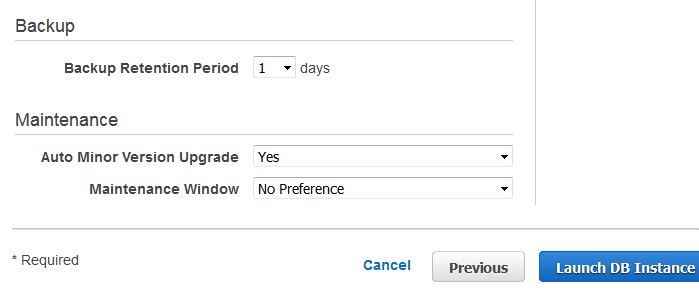
NOTE :- After this Click on Launch DB instance.
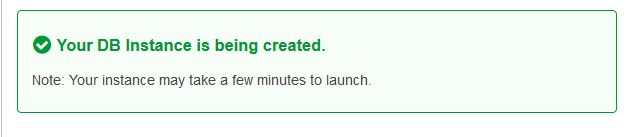
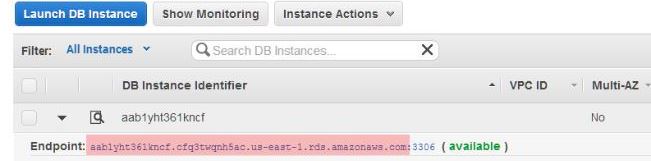
8 – After Launching Instance Click on View DB Instance :

9 – Copy the Endpoint field WITHOUT :3306. We’ll want this endpoint URL as well as the username and password we created above for the WordPress install. Also note the Database Name which is normally ebdb or wordpress ( ANY NAME )
Step 2: Installation Of WordPress
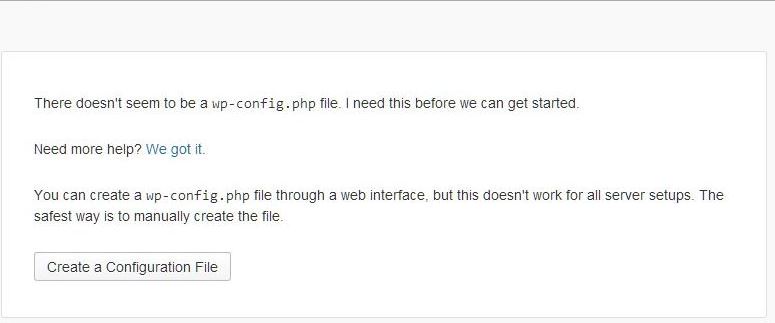
1- In your browser go to your configuration. We are now ready to create a configuration file.
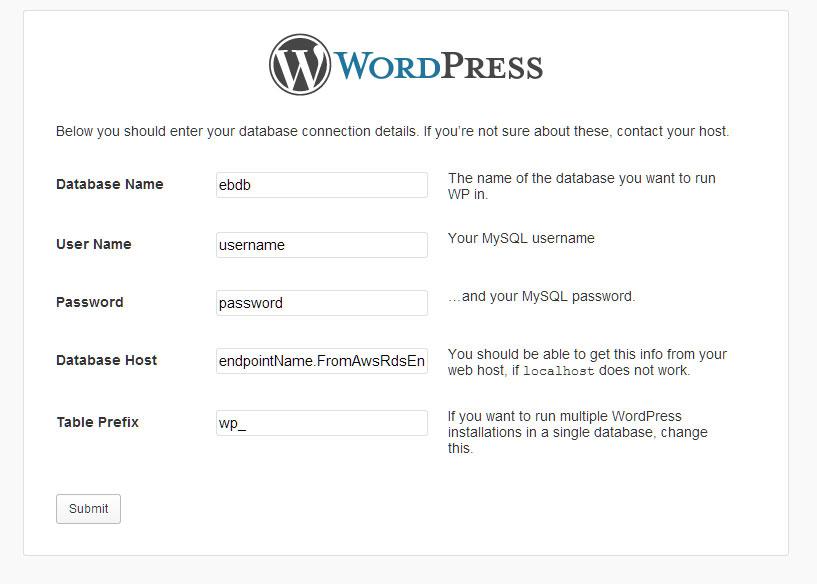
2 – Fill in the database name as found in the RDS console, which is normally ebdb, the endpoint from above as Database Host (remember without :3306) as well as the username and password you created. You can leave the prefix as wp_
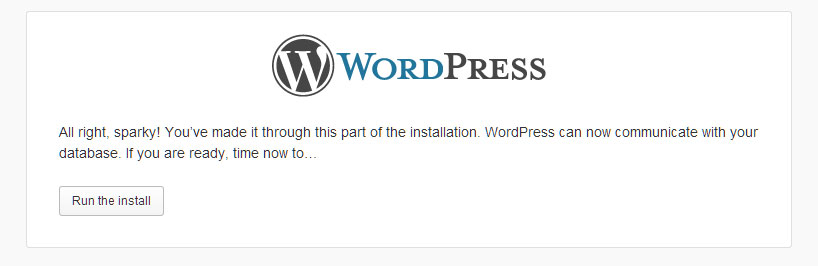
3 – Now click RUN & INSTALL and you should be up and running! Finish the install just as any other WordPress Install
********************************************
